9 Long Exposure Photography Ideas
Our step-by-step guide will give you long exposure photography ideas that will result in the photos you desire on your first attempt.
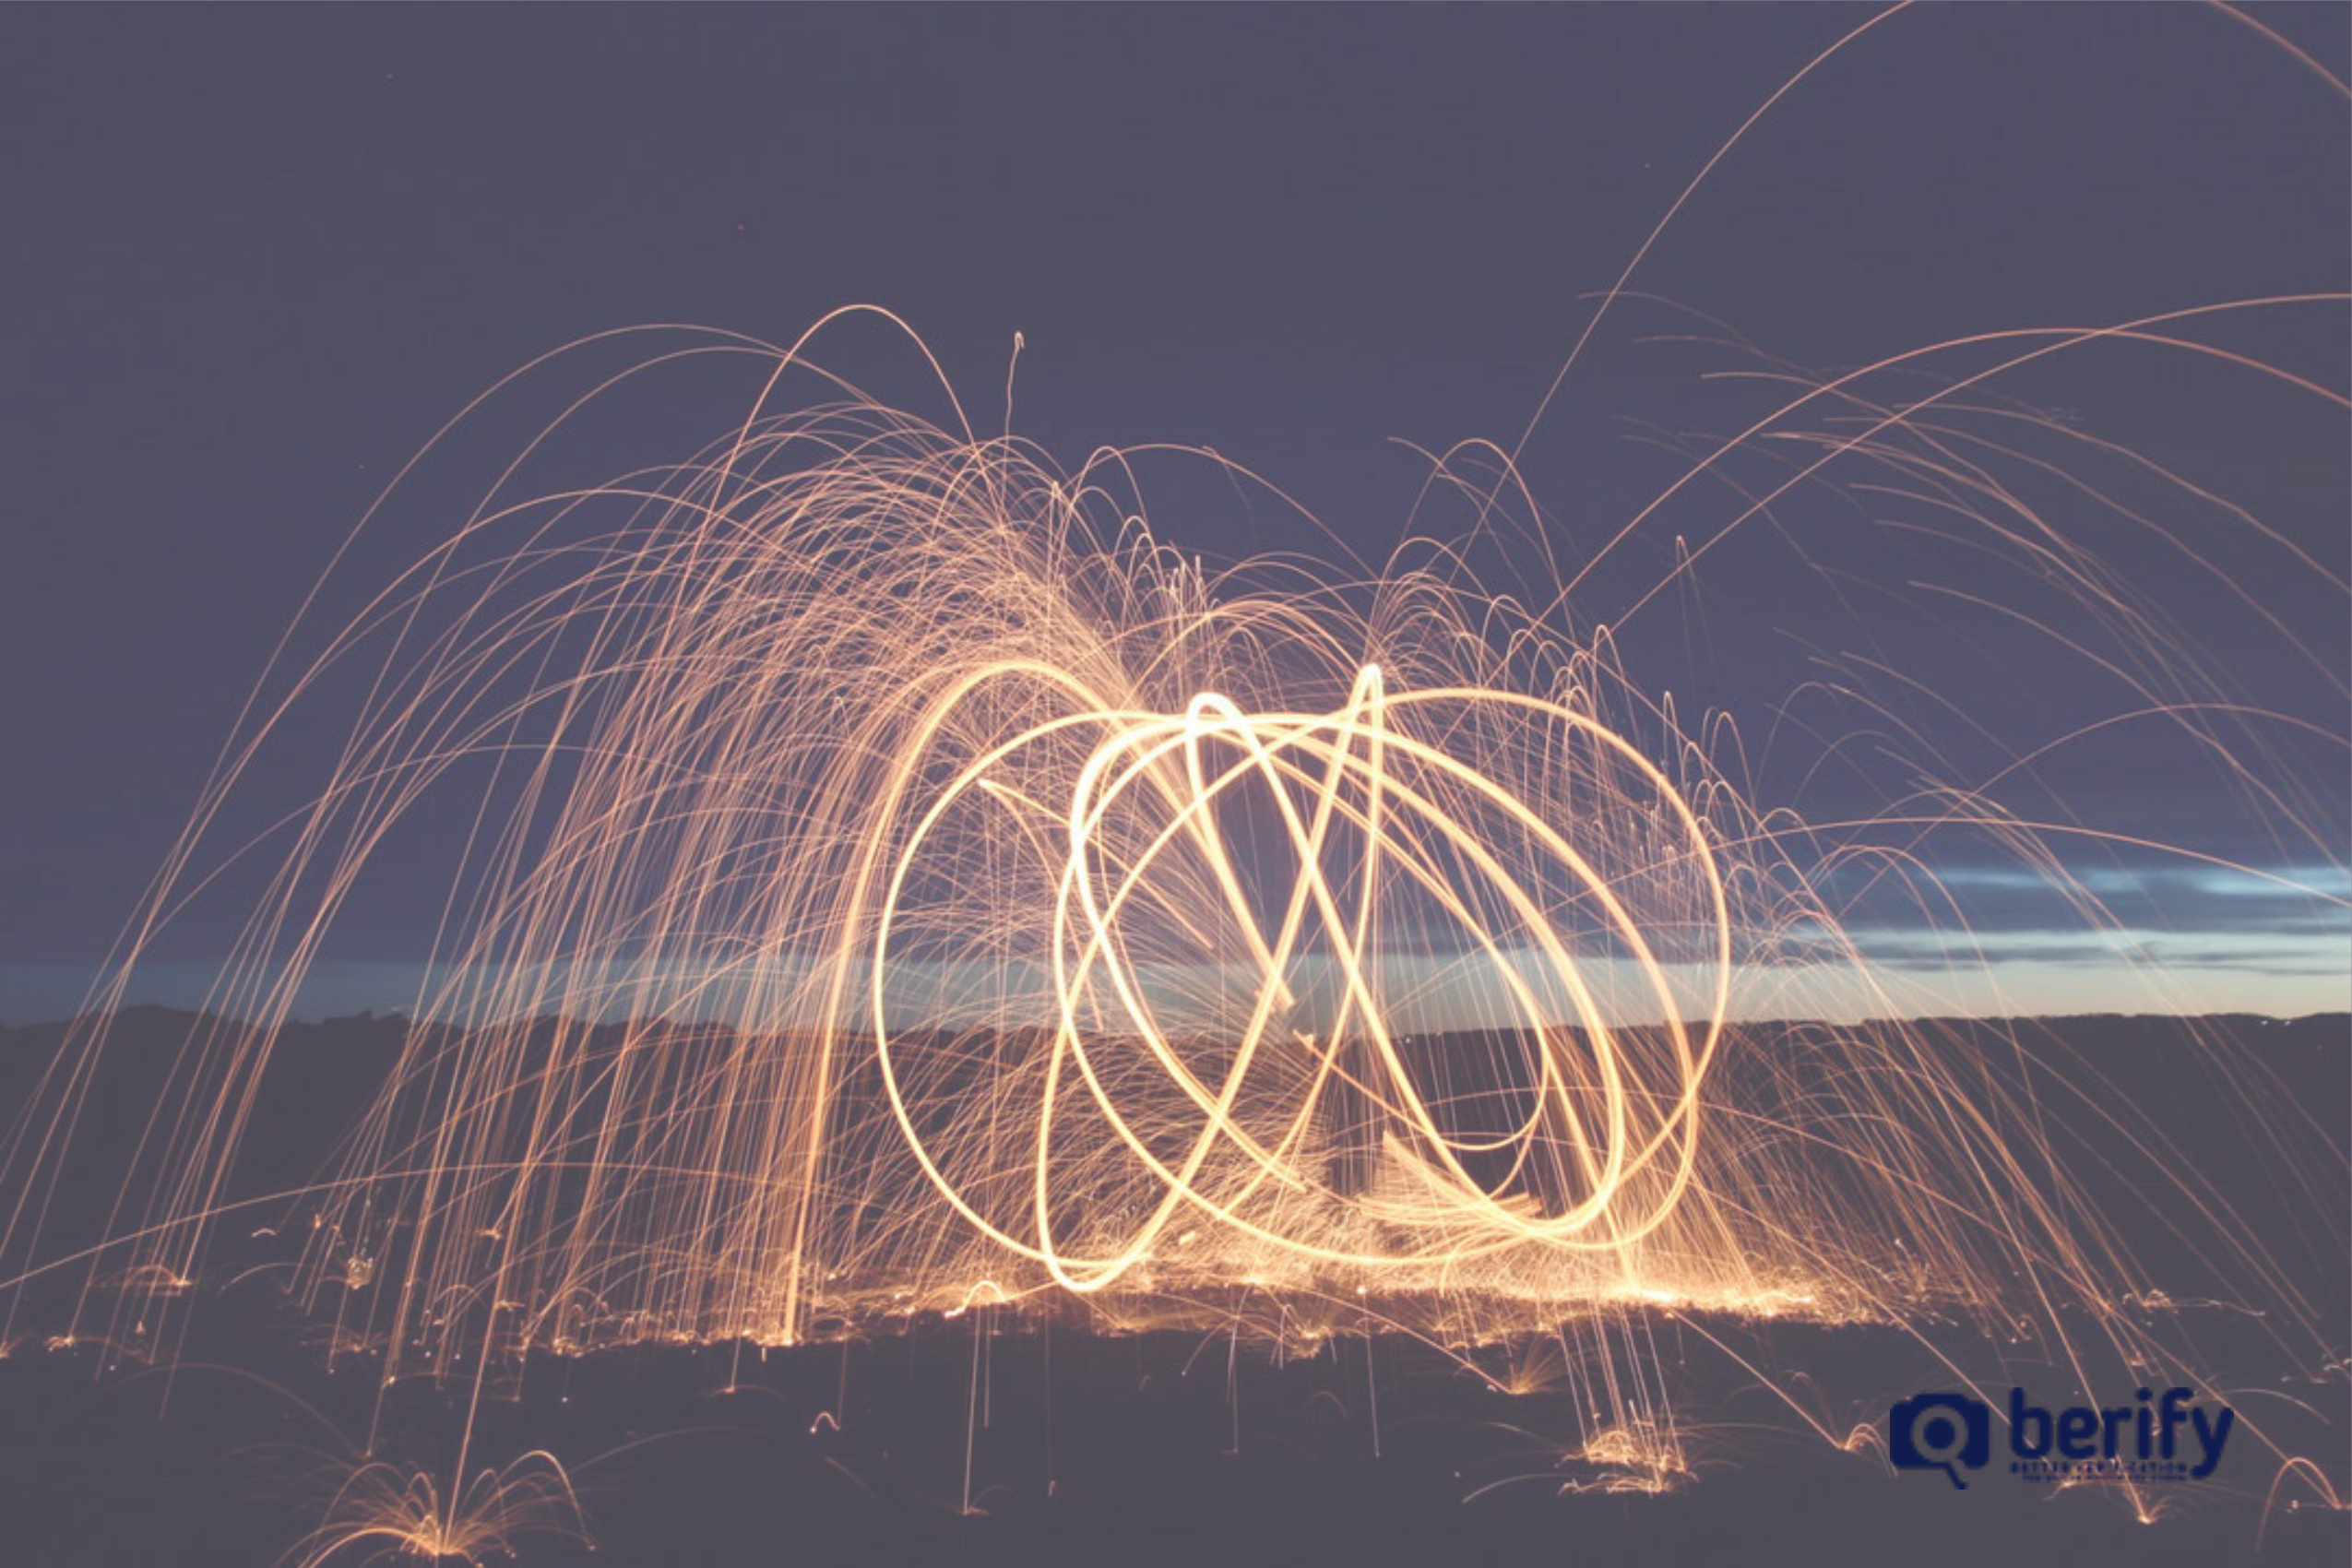
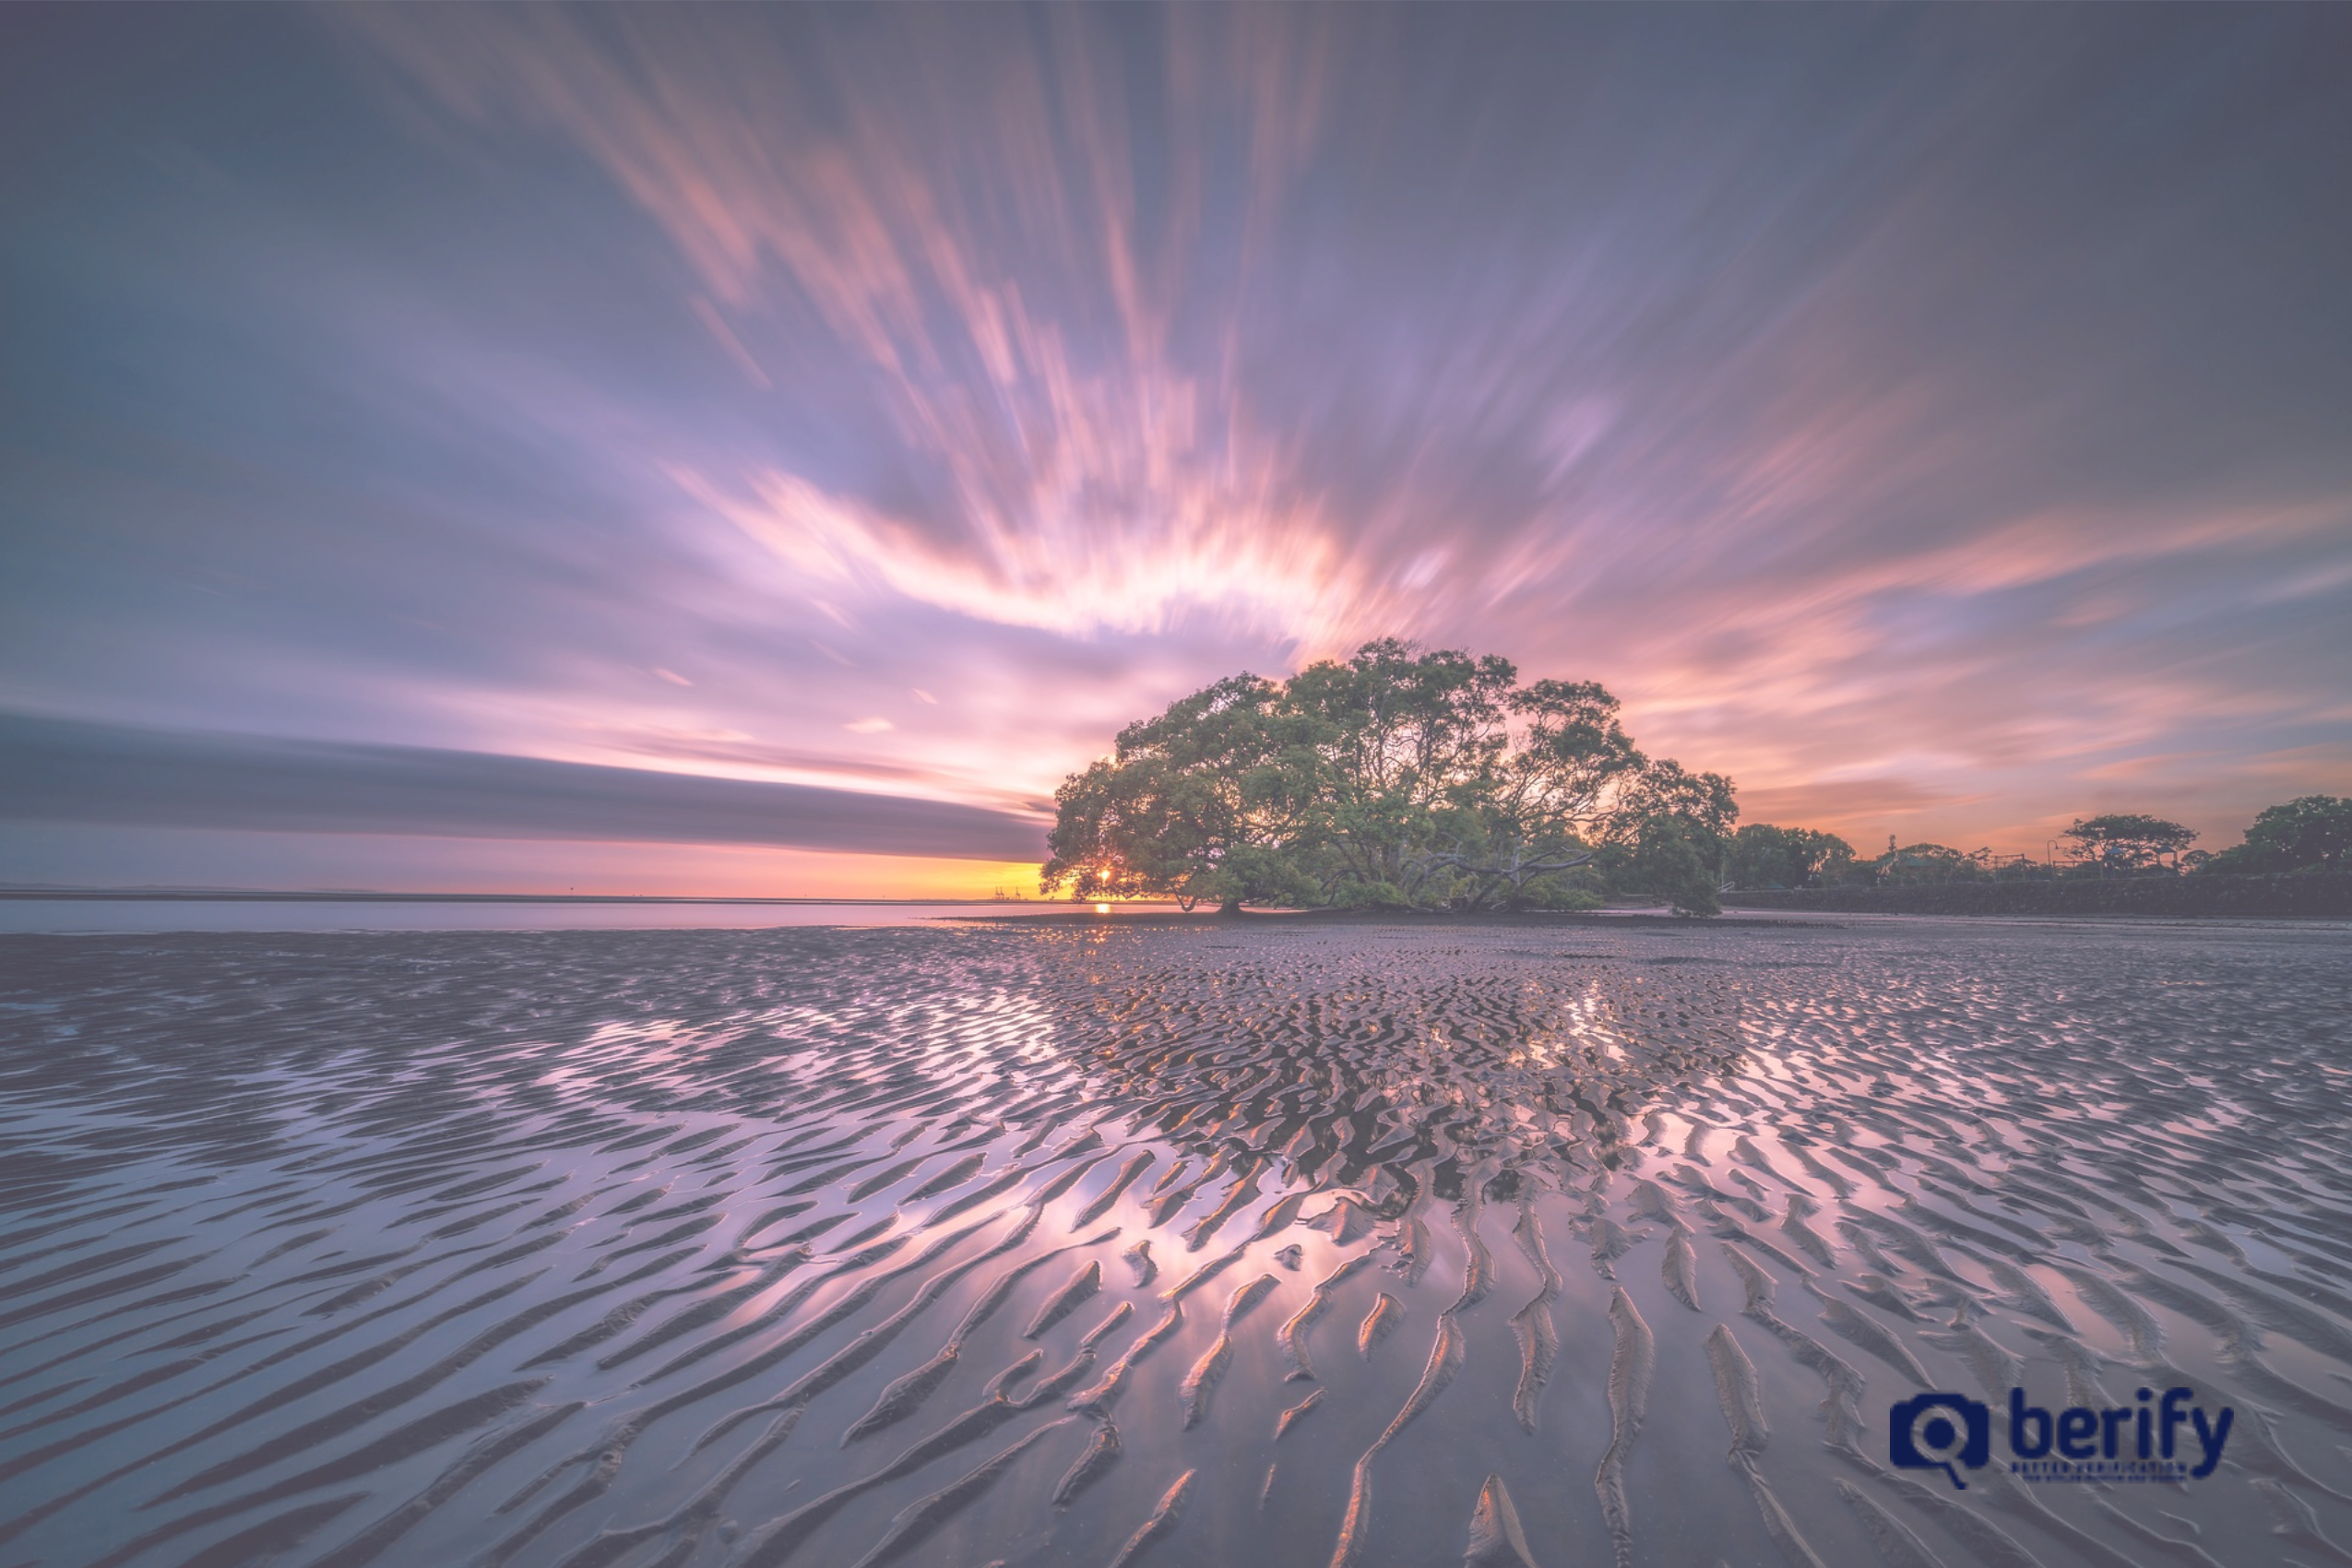
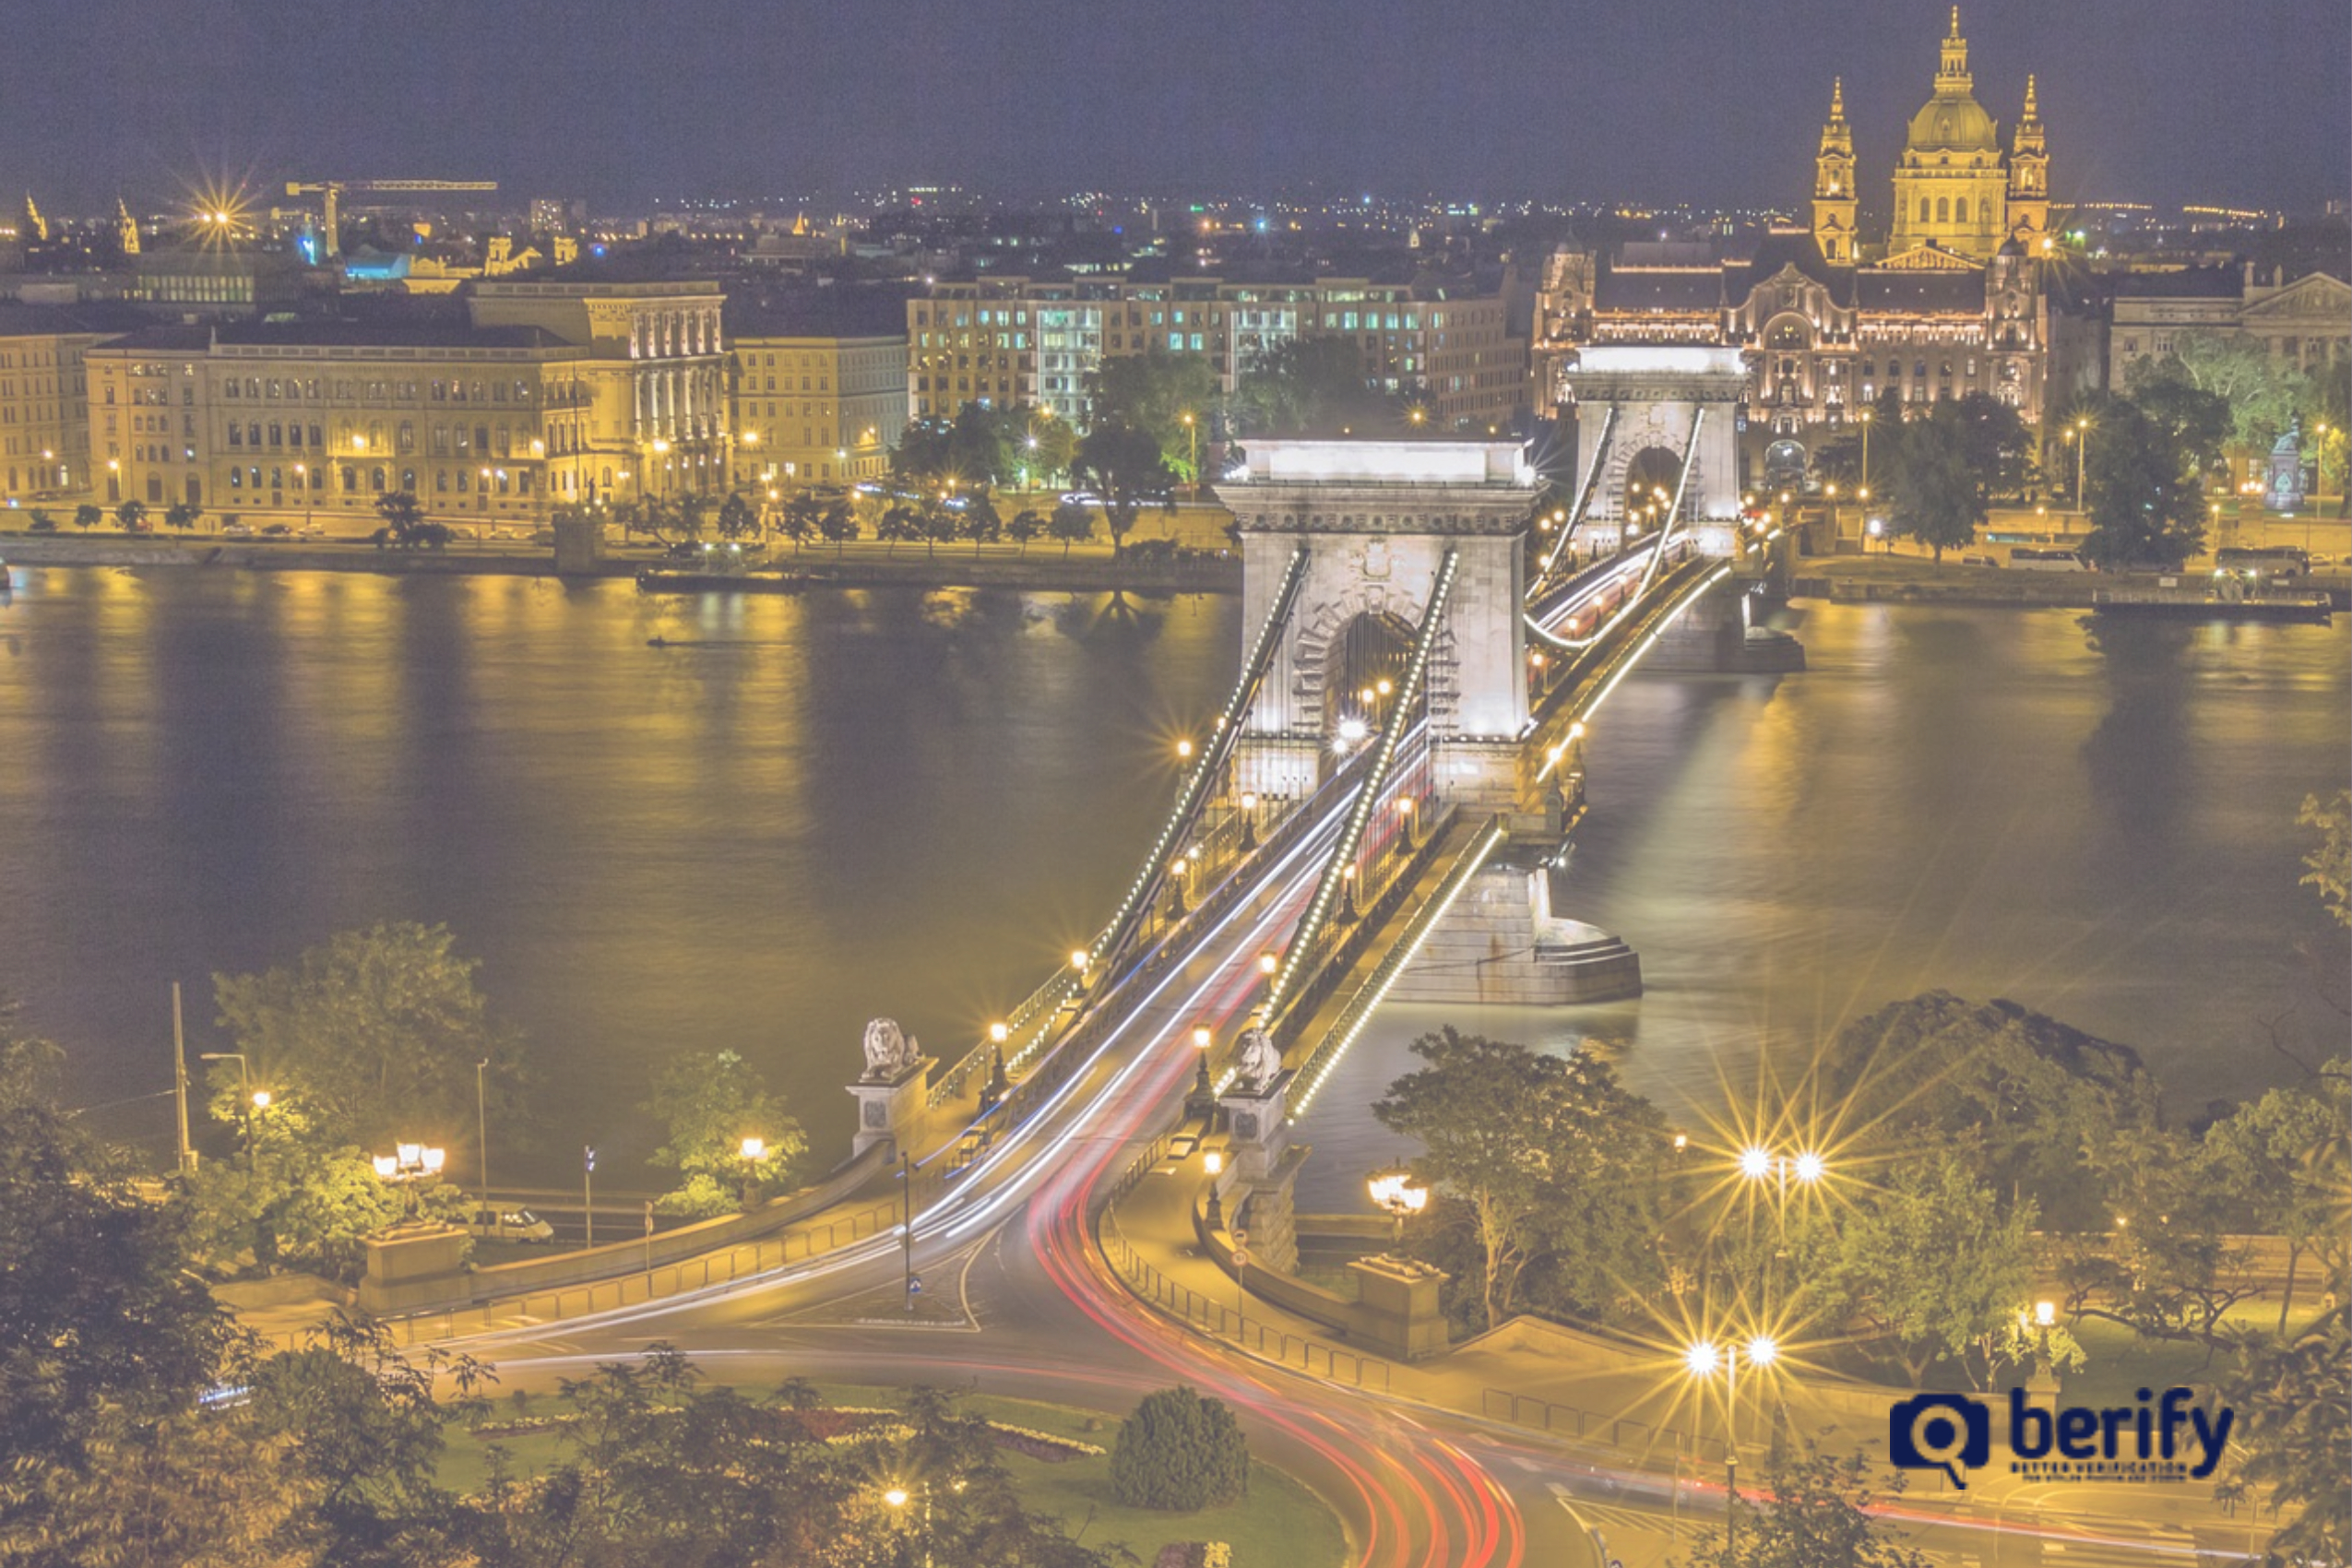
Over the past few years, the technique of long exposure has become increasingly popular among photographers. Long exposure photography involves using long-duration shutter speed to sharply capture stationary elements of images while eliminating the blurring and smearing of the moving parts. This technique can be used in the studio and an urban environment, but the best results of long exposure are landscape photography.
Long Exposure Ideas to Implement Today
Study the weather.
The ultimate weather is somewhere between a cloudless sky and a downpour. Study satellite images rather than the meteorological sites which gives you a more definitive look at what is happening with the weather.
Visit the location in advance of the photo shoot.
You need more time to perfect the composition for a long exposure as opposed to short exposure. In long exposure, the world completely different than how you see it with your own eyes. You have to try and see it with your mind, observing the harmonious composition which includes moving subjects and trying to predict the direction of the clouds or the force of the sea which directly affects the outcome of your long exposure photos.
Try not to include the sun in the composition because its movement will ruin the shot and create an area of overexposure. If you cannot avoid the sun, wait for it to hide behind a cloud.
Use a tripod.
Mount your camera on a tripod and use accessories such as a remote shutter release and filter holder. Wait until you are ready for the shot to install the filters.
Compose the image and lock focus.
Refine your compositions, focus on the subject and lock the focus. If you are using the autofocus mode, you should focus by half-pressing the shutter button to push the lever from auto-focus to manual. This will help your camera to maintain the focus (or you could use the back button focus).
Set the exposure.
Next, set your camera to Manual (M) mode or Aperture Priority (A/Av) mode. Set the aperture to an appropriate value for the scene. For landscapes, it should be between f/8 and f/11. Take a test shot. The test is complete when you get a correct exposure.
In other words, it looks like what you have in mind. Once the test shot is successful, remember the shutter speed that you need to use to continue with your long exposure landscape photos.
Add your filter.
Now is the time to add your natural density filter. If the filter is very strong such as ten stops, you will not be able to see through the viewfinder or live view. Not to worry.
If you have followed these steps, you will notice that we have already made the composition and the focus. You are blind at this point, but the camera will see everything correctly.
Change the bulb mode.
Set the shooting mode to Bulb (B) to take over the thirty second limit of the camera. Do not change any of the other settings (ISO and aperture). Keep the same as the test shoot that you liked.
Take the long exposure shot.
It is now time to take the long exposure shot. Remember the shutter speed you used from the test shot in step 5. Then you need to compensate by the number of stops added by the filter.
For example, if the test shot was 1/15th of a second, adding ten stops will get a shutter speed on approximately 60 seconds. That should be your shutter speed. The internet offers conversion tables and apps for your smartphone that will do the conversion for you.
Recheck the histogram.
After you have taken the shot with the calculated shutter speed, check the histogram. If the new histogram is approximately equal to the one in the test shot, mission accomplished! If the shot is shifted too far to the left or right, repeat the shot after correcting the shutter speed.
Now have fun and get the long exposure shots you are looking for.
By following these tips, you will achieve breathtaking results. Of course, you will need to adapt these pointers into your work pattern and find what works best for you.
Please remember to use Berify if you need assistance if you need a reverse search image to protect your photos or feel that someone is using your work without your knowledge or permission.

